Step-by-Step Guide: How to Carry Out a VAC Test (European Vacuum Test)

The European Vacuum Test (EVT) is a recognised method used to assess dust contamination levels within ventilation systems and other surfaces. It is commonly used during post-clean verification to confirm cleanliness standards have been achieved.

In this guide, we’ll explain what a VAC test is, when it should be carried out, the equipment required and the correct sampling procedure.

What Is a European Vacuum Test (EVT) or VAC test?

The European Vacuum Test (EVT) is a recognised dust sampling method used to verify the cleanliness of ventilation systems after cleaning. It provides measurable, laboratory-tested evidence of dust contamination by collecting particles from a defined surface area using specialist equipment.

Results are reported in grams per square metre (g/m²), helping building owners and facilities managers demonstrate that ventilation hygiene standards have been achieved.

Best Practice

A visual inspection alone cannot accurately measure dust contamination within a ventilation system. Using recognised methods such as the European Vacuum Test (EVT) provides objective, laboratory-verified evidence that cleanliness standards have been achieved.

When Is a VAC Test Used?

A VAC test is commonly carried out:

  • Following ventilation duct cleaning
  • During post-clean verification
  • As part of indoor air quality investigations
  • During planned ventilation hygiene inspections
  • To provide documented evidence of cleanliness

For organisations responsible for maintaining ventilation systems, the results provide objective evidence that cleaning work has been completed to an acceptable standard.

Book Your Ventilation Hygiene Inspection

Our experienced engineers can assess your ventilation system, carry out professional cleaning where required, and provide the documentation you need to demonstrate compliance.

Get a Bespoke Quote Call 0800 243471

Watch Our Video Below

Our Training Manager, Richard Crews, explains the fundamentals of calibrating the equipment used for European Vacuum Tests and Dust Deposit Thickness Tests. In this video, Richard also demonstrates the correct on-site process for measuring dust deposits within ventilation ductwork and explains why accurate calibration is essential for reliable results.

Equipment Required

Before starting, ensure you have the following equipment:

Equipment Specification
Air Sampling Pump High-volume air sampling pump capable of drawing 15 litres per minute (15 l/min).
Filter Media
  • 37 mm Mixed Cellulose Ester (MCE) filters
  • 0.8 μm pore size
  • Installed within a three-piece cassette
  • Matched-weight or pre-weighed filters
Calibration Device Flow calibration equipment accurate to ±5% at 15 l/min.
Sampling Template
  • Approximately 0.4 mm thick
  • Sampling area of 0.01 m²
  • Typically measures 10 cm × 10 cm
  • Template size may vary depending on access and sampling location

Step-by-Step Sampling Procedure

Step 1 – Visually Inspect the Surface

Before sampling, inspect the area visually and look for dust build-up; moisture; damage; obstructions

Step 2 – Position the Template

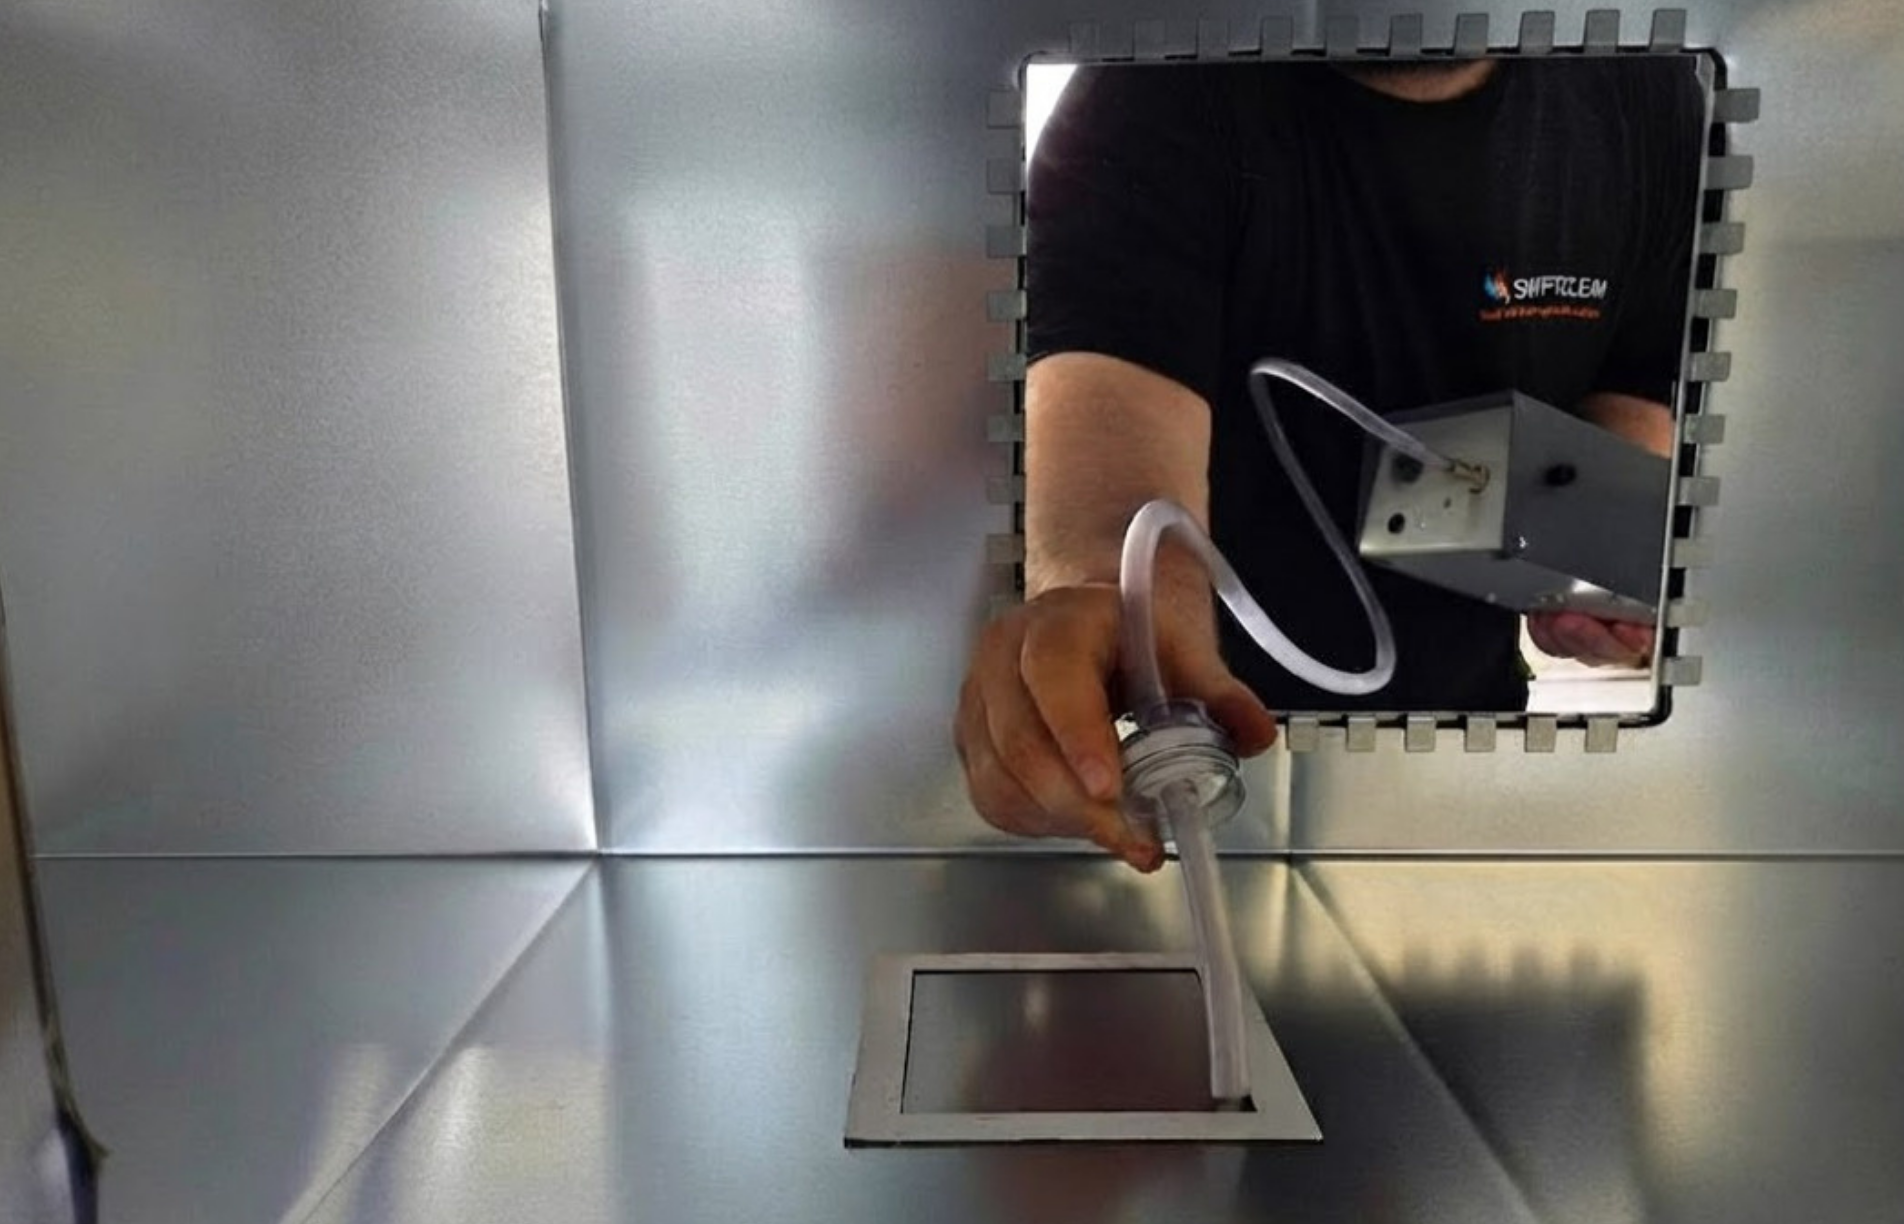
Place the sampling template firmly onto the surface.

Ensure that the template lies completely flat and does not move during testing.

This guarantees the sampling area remains accurate.

Step 3 – Prepare the Filter Cassette

Remove the protective plugs from the cassette carefully.

Avoid touching the filter surface so the sample isn’t contaminated.

Step 4 – Connect the Equipment

Attach the outlet end of the cassette to the pump tubing and attach a 5 cm suction tube to the cassette inlet

Check all tubing is secure and airtight.

Step 5 – Calibrate the Pump

Using the calibration device, set the airflow to 15.0 l/min

Why Calibration Matters

Correct airflow ensures consistent dust collection, accurate laboratory results and compliance with EVT requirements

Step 6 – Vacuum the Test Area

Vacuum the exposed template area systematically by scraping the suction tube across the surface. Cover the entire exposed area evenly and do not exceed 5 cm per second

Step 7 – Seal the Cassette

Once sampling is complete:

Remove the tubing and replace the cassette plugs immediately – this prevents contamination or sample loss.

Step 8 – Label the Sample

Clearly mark the cassette using an indelible pen – making sure to include the sample reference/code; date; location and job/site reference.

Step 9 – Complete the Sampling Log

Record all relevant information in your site log, including:

  • Sample ID
  • Site location
  • Exact ductwork/location sampled i.e. supply/extract duct
  • System Quality Class (High/Medium/Low)
  • Date and time
  • Technician name
  • Pump flow rate
  • Any observations

Accurate documentation is essential for traceability.

Step 10 – Send Samples to the Laboratory

The cassette must be sent to an independent laboratory for analysis.

Best Practice Tips

✔ Do ✖ Don’t
Calibrate equipment before every test Touch the filter surface
Wear clean gloves when handling filters Sample while fans are operating
Keep accurate records Allow the template to move
Use a dry surface Sample a wet or damp surface
Maintain steady suction speed Exceed 5 cm/s vacuum speed
Label every sample correctly Leave cassettes unsealed

Conclusion

The European Vacuum Test is a precise and reliable method for measuring dust contamination levels. By following the correct sampling technique, calibration procedures, and laboratory processes, you can ensure accurate and repeatable results for cleanliness verification and reporting.

A properly completed VAC test provides confidence that ventilation systems and surfaces meet required hygiene and cleanliness standards.

Need Expert Ventilation Hygiene Support?

Whether you need ventilation cleaning, post-clean verification or expert advice on European Vacuum Testing, our specialists are here to help.

Contact Our Team Call 0800 243 471

Frequently Asked Questions About European Vacuum Testing

What does a VAC test measure?

A VAC test measures the amount of dust present on a defined surface area. Results are reported in grams per square metre (g/m²).

Is a VAC test better than a visual inspection?

A visual inspection can identify obvious contamination, but a VAC test provides measurable laboratory data that objectively confirms cleanliness levels.

How are VAC test samples analysed?

Once collected, samples are sent to an independent laboratory where the filters are weighed and analysed to determine the amount of dust collected.

Can a VAC test be carried out while ventilation systems are operating?

No. Ventilation systems should normally be switched off during sampling to prevent airflow affecting the results.

Why is calibration important?

Calibration ensures the sampling pump draws air at the correct flow rate, allowing laboratory results to remain accurate and repeatable.

Richard Crews

Compliance and Training Manager for Swiftclean and Swift Fire Compliance - Richard has over a decade of industry experience, from grease hygiene and technician roles to service delivery and Legionella risk assessment. Now a Training and Compliance Developer for the Swiftclean Academy, he focuses on auditing, training, and developing high‑quality services.